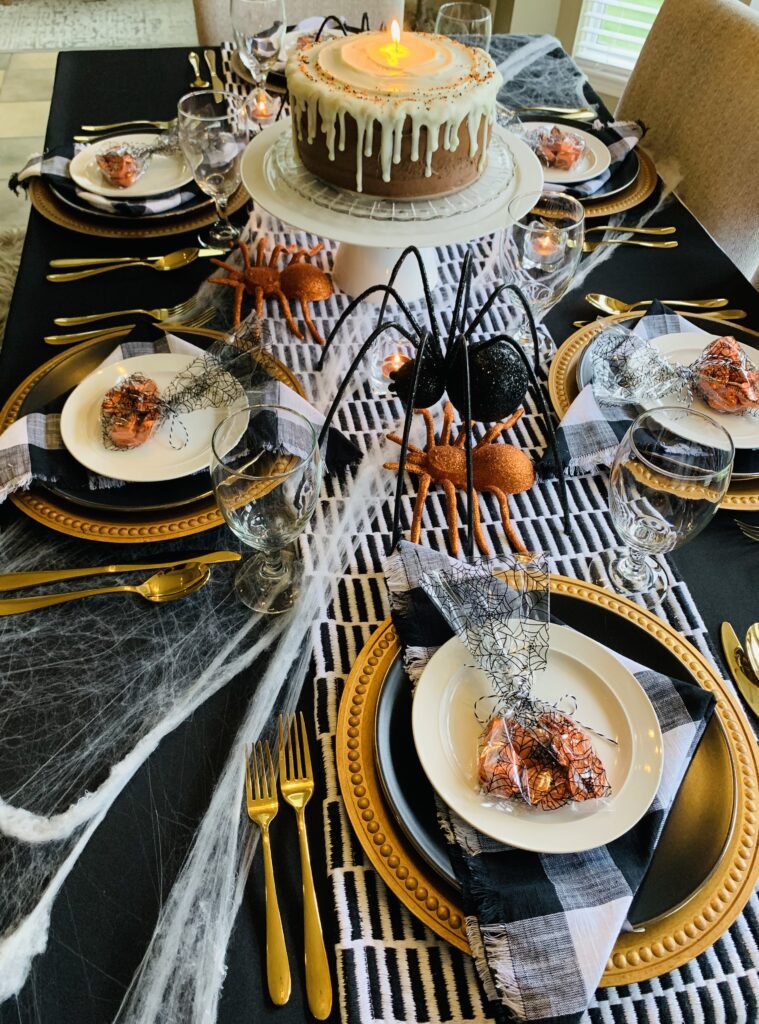
As I sit here and ponder what would make this Halloween table setting pop, I thought it would be super fun to create an edible centerpiece, aka chocolate cake, and stage it to look like a candle. There are multiple strategies you can use to creatively make your tablescape pop for a Halloween party. Those 5 key strategies include a centerpiece with a twist, mixing and matching layers and patterns, including the star of the show- candy, adding in ONE specific Halloween embellishment, and styling with fall colors. Let’s dig into the meat of the details and savor every bite.
This post is all about the Halloween table setting. It contains Amazon affiliate links, meaning, I might receive a small commission, but, at no cost to you.
Thank You!
A huge thank you to my sister, the face of Sweet Annie, who frosted and styled this little masterpiece. She works wonders with her culinary skills and turns cakes into pieces of art every time she get’s her hands on the sugar. You can check out her gorgeous creations on her Instagram page, here.


1. Centerpiece with a Twist
Creating fun and creative centerpieces can be super easy. If you need to get those creative juices flowing, it’s always helpful to peruse Pinterest and other socials to see what other influencers are creating. Once you have in your mind, the design you’d like to create, it’s super fun to add a little twist.
When I say twist, I mean, take the idea and add your own flare to it. Make it a little different than what would be a typical design.
For example, my centerpiece is a chocolate cake that looks like a fun Halloween candle. We put a spin on it to make the centerpiece a little more unique. It still houses the traditional birthday candle but instead of letting it stand tall on top, we smooshed it deep down to just highlight the wick.
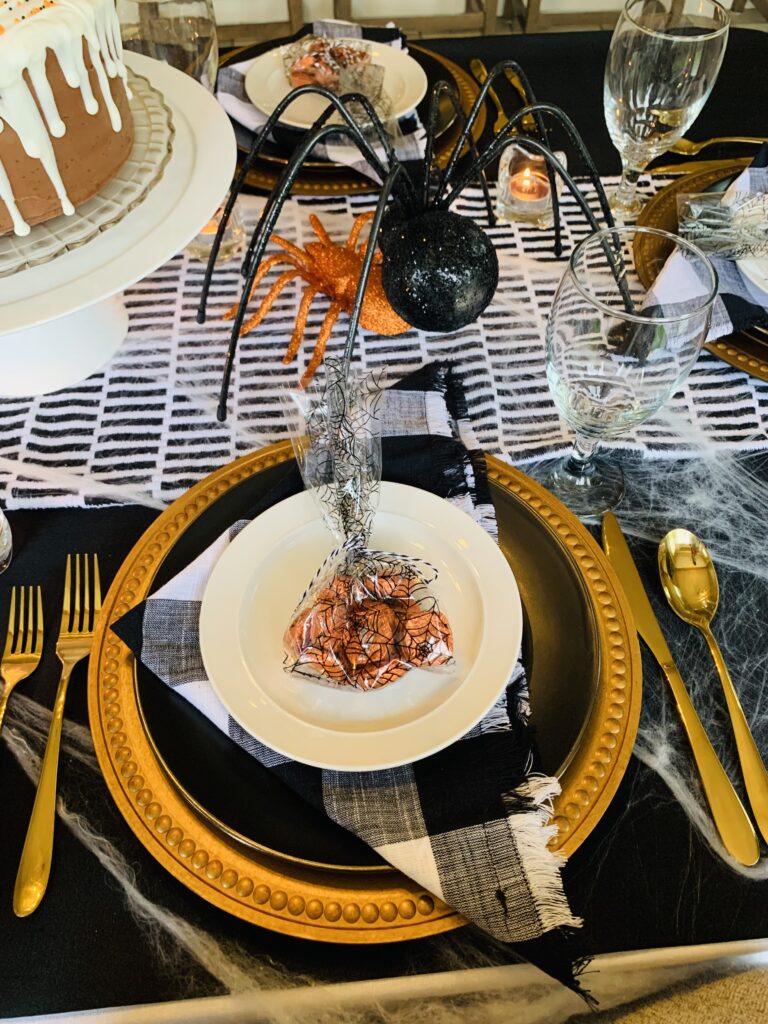
Quick tip– if you decide to make a similar cake, with the wick being low and close to the cake, be careful because it will start to burn the frosting around it. As fun of a cake style this is, it’s not practical to keep the candle lit for very long in light of the positioning.

If you decide to go a similar route and make the centerpiece edible, it allows for the focal point to have more than one purpose. You can use it as Halloween table décor, as well as your delicious dessert. Plus, what a fun talking piece to use as an icebreaker to help get the conversation rolling.
Delicious Chocolate Cake Recipe
Creative Centerpiece Ideas
- Spray paint tree branches to match your table décor and hang candies from cute ribbons tied around the tiny limbs.
- Carve out a pumpkin and put a vase in the middle with your favorite fall-colored flowers spilling out the top.
- Create a charcuterie board that mimics a Halloween-themed item for everyone to enjoy as hors d’oeuvre before dinner.
- Make a pumpkin into a votive by carving out the middle and placing a candle inside. Place black pipe cleaners, 3 on each side, as bent legs, and you have a cute candle spider.
- Place a Halloween-styled wreath flat on the table as a cute little nest that houses a pumpkin, a vase with flowers, or a giant multi-wick candle.
More Fall Centerpiece Ideas
2. Mixing and Matching Layers and Patterns
I’ve learned from so many other tablescape designers that when you add layers and patterns it will make your décor look fuller and give you that dressed-to-the-nines feel. I can attest, it is so true!
I even dare to say, you almost can’t have enough layers on your table. If it’s getting to the point to where it feels like you are staging your plates and cups on top of a sleeping bag, then that might be a little much. Lol! But, as long as the décor lays flat and everything flows cohesively, you are headed in the right direction.
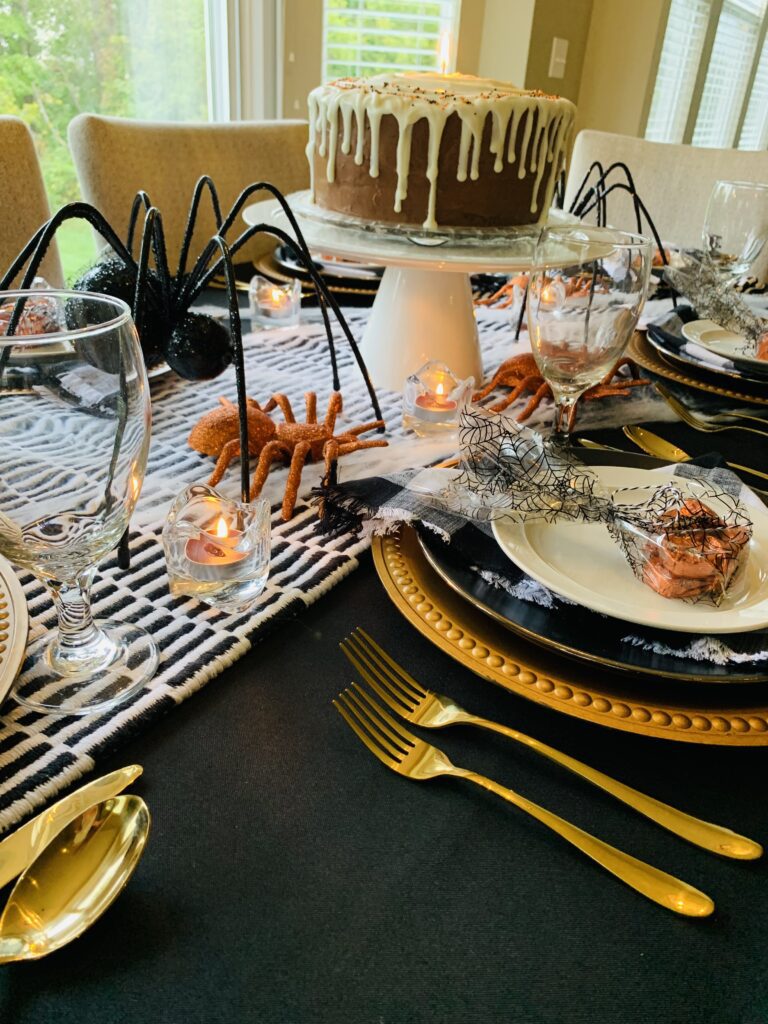
In this Halloween table setting, you can see how we started the layering process with a basic white table cloth. The black fabric on top is actually a round table cloth with the sides tucked underneath. I had to improvise when I was setting this one because I felt like it needed another layer of darker color of depth. The black cloth provided just the added touch.
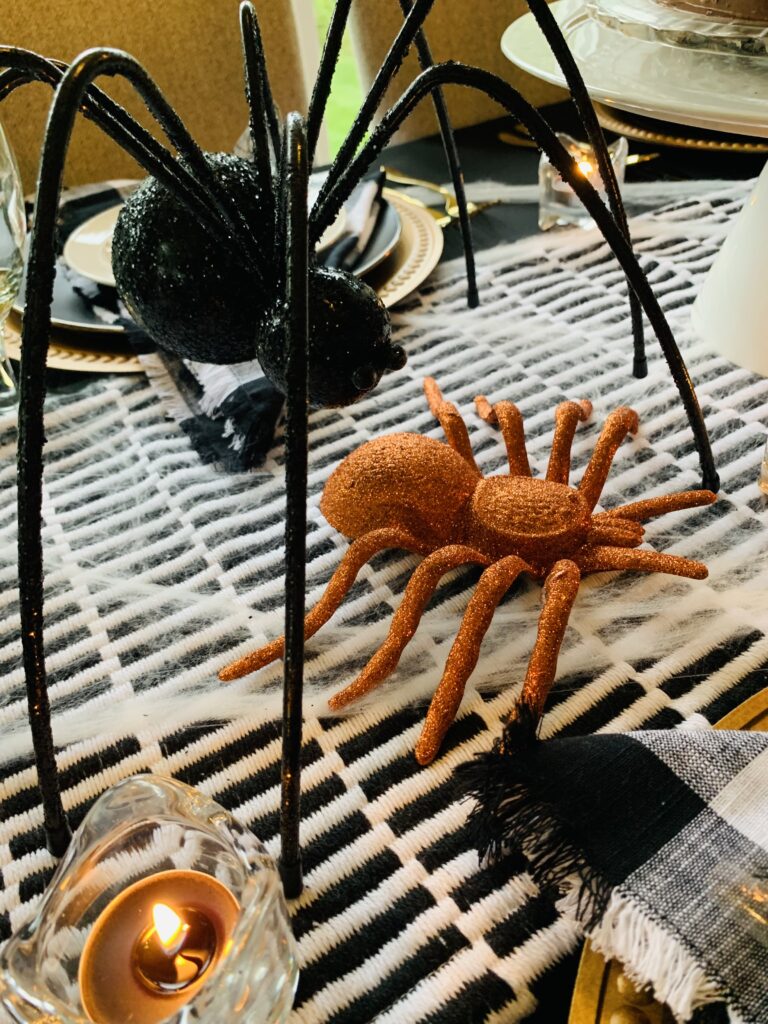
Then the table runner was set in place and the web was stretched to make this spider themed Halloween table setting start to come to life. I loved the pattern on the table runner when I saw it and thought it would flow nicely with the buffalo plaid linen napkins. The lines on it made me think of a spider web.
When you have similar colors in different patterns, be brave to try to mix and match them into your décor. You’d be surprised how well they can flow together.
Next came all of the other layers needed to make this Halloween table set up complete. I love how the chargers, dinner plates, plaid napkins, and salad plates create more layers, therefore even more depth.
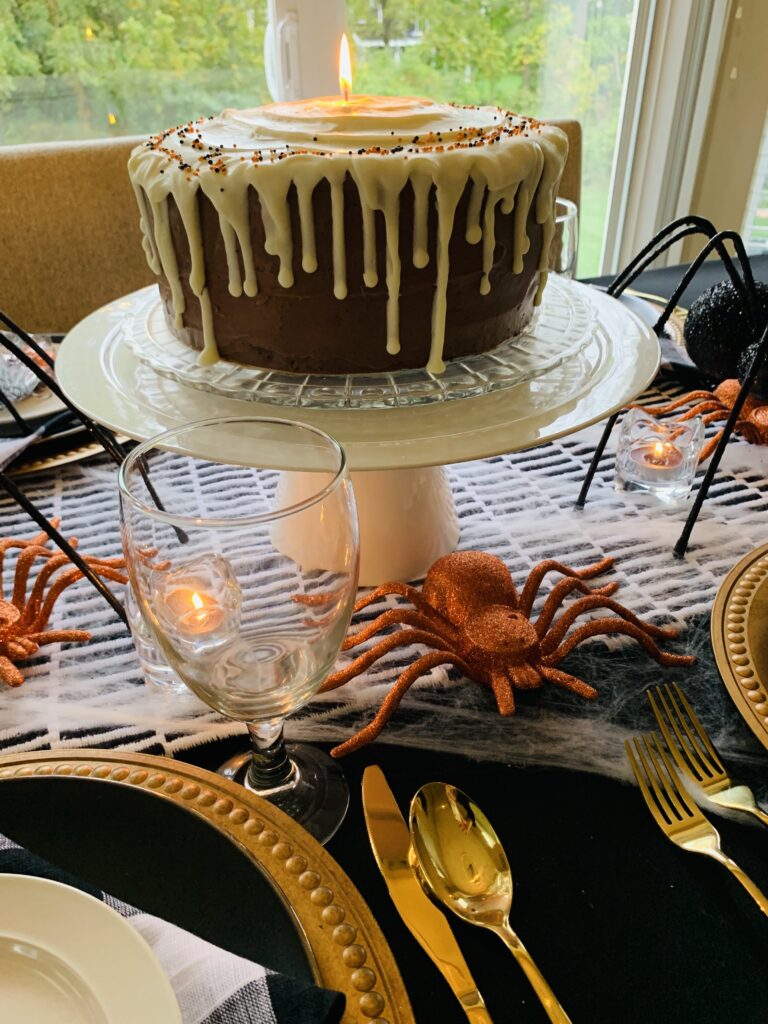
For the centerpiece, rather than just placing the cake alone in the middle, I staged it on a pedestal. Be intentional when adding in more pieces. Stand back and look after adding each layer. Just to be sure it rests easily on the eyes.
The cake colors were thoughtfully planned out to feel “Halloweeny” and to compliment the color scheme. When you add similar shades and tones to the décor you set out, it helps make the design process flow well.
The last layers added were the spiders. They were super fun finds that gave some sparkle to the mix. Abby helped me pick these out, too.
When you can, let your babies help you shop and decorate. Many times, they will spot something you may have overlooked, and it just might be the perfect piece to add. I’m speaking from experience because this is EXACTLY what happened. The credit for this tablescape goes to my Abby!
3. The Star of the Halloween Table Décor Show- Candy
Make no mistake, the main reason kids want to walk around in the chilly weather on a damp cold evening is only for the CANDY TREATS. Why not add candy to your Halloween table setting by placing sweetly embellished gift bags stuffed with goodies on each plate?
I found some oh-so-cute Halloween bags at Walmart and scooped them up right away. They matched the theme of my table and I got so excited. It’s the little things! Lol!
They totally coordinated with my spider-themed party decorations. Whoop! But they were clear, so I had to be strategic with what types of candies to put inside. This is probably one of the only times that I wanted to love the wrapper more than the goodness within.
My Abby helped me hunt. In the Halloween candy aisle at Walmart, they had Dove chocolates wrapped in such a pretty burnt orange colored foil. They were the perfect color that would shine through just enough to notice what was on the inside and coordinate with my color scheme. It’s not always easy to find just the right wrapper for your candy, you know!
I put the two together and had a sweet goodie bag for my guests to take home. I love sending friends home with a little gift because I want to show them how much they are loved and cared for. Again, it’s the little things!

4. Stick with One Halloween Embellishment Theme
There are so many themes you can use to fully embellish your Halloween table decorations. It makes it easier to dress the table without it looking congested, when you stick with one main idea.
For this Halloween table, I went with a SPIDER theme. Since spiders go hand in hand with webs, I used the web as a simple “table runner” stretching from one corner to the other.
In light of the smaller table size, I used a minimal amount of spiders to embellish the décor. Just the two big faux sparkly back arachnids and a few sparkly burnt orange, too.
The cellophane gift bags tie in the cobwebs stretched across the table. Can cobwebs and gift bags actually work together? I don’t know, but it seems to flow in this case.
Feel free to place the gift bags where ever you see fit. You can display them on top of the plates, napkins, bowls or inside the water goblets, and you will immediately have added flare to the table decorations.
You can also use small gift boxes and paper or mesh gift bags to place your sweet treats in. If your guests have food sensitivities or don’t prefer candy, you can use small candles, lotions, Halloween grocery list pads, etc. as more SWEET gift ideas.

5. Style with Fall Colors
Let the beautiful colors from the trees turning shades of orange, yellow, red, and more be your inspiration for the fall tones you incorporate into your Halloween tablescape. Brown, black, white, gold, and green are more fun fall colors you can tie in.
For this table setting, we went with black, white, and gold. We had a few different shades of gold, but they all flowed well together because of the common theme and strategic placement of each of the gold pieces.
Choose a few of your favorite colors of the season and have a blast styling your table around them. Color’s don’t disappoint and bring such life to a display. They will for yours, too!
Shop the Post
Thank you for joining me as we explored some of the best ways to make your Halloween table setting POP. Feel free to take these ideas and incorporate them at your party. I’d be honored if you shared your ideas and pics, in the comments below, when you stage your Halloween table. I love seeing your creations. 🧡
P.S. A Note of Encouragement
Enjoy the little things. This week my sister came over to help me decorate this creative cake and started sharing with me what was on her heart.
She said something that totally resonated. She was talking about living in today. True living is not going to come when the breakthrough happens, or when we have our prayers answered; it’s in the here and now.
We can easily get focused on the future goals we have in life, and miss the little things, the little blessings right in front of us. Don’t get me wrong, the desires and dreams you have in your heart are wonderful and are there for a purpose. This is just a sweet reminder to not LIVE in them, but to LIVE in TODAY.
I pray you see every tiny little morsel of sweet blessings that are around you. I pray you thrive in the present and you cherish the small bites of goodness God gives you THIS day!


Annette says
Very Elegant but fun.Love this🙌
danimardesigns says
Thank you, friend! 🙂